파이썬 혼자놀기 패키지 (무료 강의)
3일 차 - 수강 일자 210930
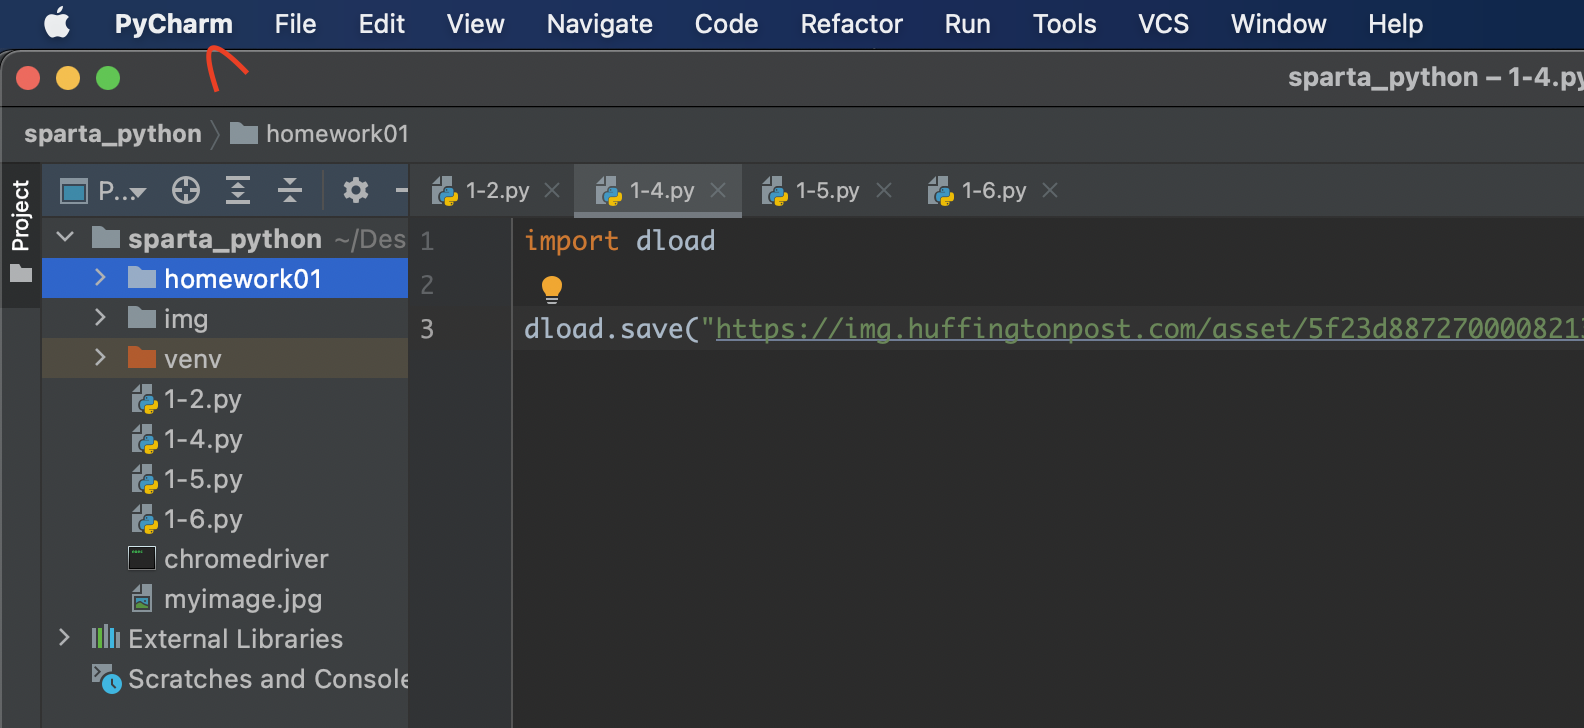
from wordcloud import WordCloud

text = ''
with open("kakaotalk.txt", "r", encoding="utf-8") as f:
    lines = f.readlines()
    for line in lines:
        text += line

wc = WordCloud(font_path='/System/Library/Fonts/AppleSDGothicNeo.ttc', background_color="white", width=600, height=400)
wc.generate(text)
wc.to_file("result.png")
코드 설명
from wordcloud import WordCloud
워드클라우드 라이브러리를 사용한다.
text = ''
with open("kakaotalk.txt", "r", encoding="utf-8") as f:
lines = f.readlines()
for line in lines:
text += line
text를 공란으로 만들어주고, kakaotalk.txt라는 파일을 오픈한다. (txt파일이라면 어떤 파일도 무방하다. 카카오톡 톡 내보내기를 통해 사용하는 것을 강의에서 권하고 있으나, 그럴 경우 csv파일로 export되어 적용이 안된다.)
kakaotalk.txt파일의 모든 줄들을 읽어서 한줄한줄을 text에 채워준다.
wc = WordCloud(font_path='/System/Library/Fonts/AppleSDGothicNeo.ttc', background_color="white", width=600, height=400)
wc.generate(text)
wc.to_file("result.png")
text에 워드클라우드 함수를 적용한다.
폰트를 설정하고, 백그라운드 컬러와 가로 세로 크기를 결정한다.
저장할 파일 명을 결정한다. result.png
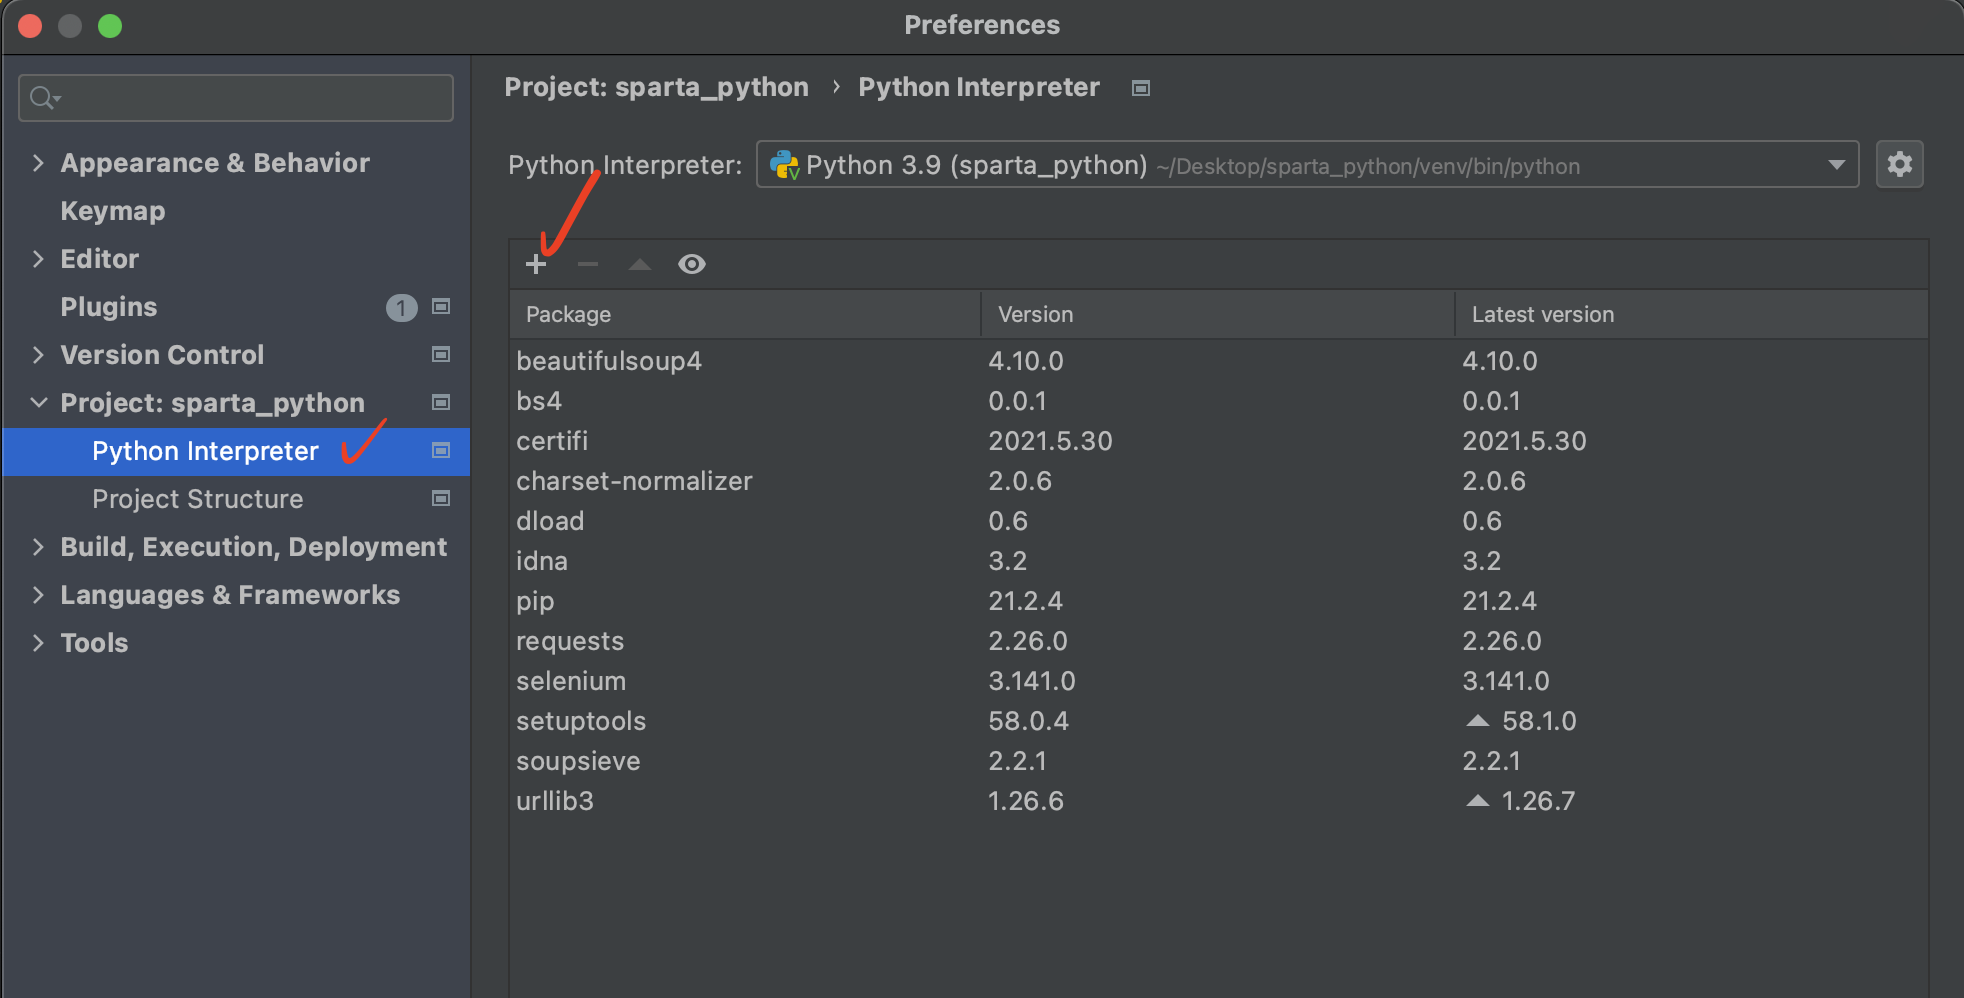
🔥 이때 폰트 경로 설정이 중요하다.
아래의 코드를 통해 폰트들의 링크를 가져올 수 있다. 왜인지 모르게 ttf type의 폰트는 적용이 안돼서, ttc파일을 적용시켰다.
폰트 경로 가져오기
import matplotlib.font_manager as fm

for font in fm.fontManager.ttflist:
    if 'Gothic' in font.name:
        print(font.name, font.fname)
폰트 경로 출력 결과
Apple SD Gothic Neo /System/Library/Fonts/AppleSDGothicNeo.ttc
Hiragino Maru Gothic Pro /System/Library/Fonts/ヒラギノ丸ゴ ProN W4.ttc
Noto Sans Gothic /System/Library/Fonts/Supplemental/NotoSansGothic-Regular.ttf
AppleGothic /System/Library/Fonts/Supplemental/AppleGothic.ttf
위의 링크에서 /로 시작하는 폰트 링크를 복사해 위의 내용을 font_path에 넣으면 된다.
if, 혹시 폰트 경로만 출력하고싶다면 아래의 코드를 입력하면 된다.
import matplotlib.font_manager as fm

for font in fm.fontManager.ttflist:
    if 'Gothic' in font.name:
        print(font.fname)
출력 결과

결과를 보면 무의미한 내용이 엄청 많이 들어있다. ㅋㅋㅋ, hk 이런내용들이다.
여기서 무의미한 데이터들을 필터링해주는 데이터클리닝 과정을 진행한다.
데이터 클리닝
text = ''
with open("kakaotalk.txt", "r", encoding="utf-8") as f:
    lines = f.readlines()
    for line in lines[5:]:
        if '] [' in line:
        text += line.split('] ')[2].replace('ㅋ','').replace('ㅜ','').replace('이모티콘\n','').replace('삭제된 메시지입니다','')
for line in lines[5:]:
5번째 줄부터 출력 (초반에 불필요한 메시지들 제외)
if '] [' in line:
사람들이 말한 경우만 포함하기 = 시스템 명령어 제거하기
파일 구조에 시스템 명령어들은 ] [를 포함하고 있지 않고, 사람이 말한 경우 "[말한사람이름] [시간] 말한 내용 "이렇게 돼서 위의 트릭으로 사람이 말한 경우만 포함 할 수 있다.
line.split('] ')[2]
파일 구조가 "ex. [정훈hk] [오후 5:10] 왜 우울한지 고르시오"이런식으로 생겨서 '] '를 기준으로 짜르면 text부분이 2순서에 위치함. 일종의 트릭
.replace('ㅋ','').replace('ㅜ','').replace('이모티콘\n','').replace('삭제된 메시지입니','')
위와 같은 이유와 목적으로 여러가지 무의미한 내용들을 삭제한다.
다시 워드클라우드
이렇게 클리닝된 내용을 기반으로 워드클라우드를 다시 해보자
from wordcloud import WordCloud

text = ''
with open("kakaotalk.txt", "r", encoding="utf-8") as f:
    lines = f.readlines()
    for line in lines[5:]:
        if '] [' in line:
        text += line.split('] ')[2].replace('ㅋ','').replace('ㅜ','').replace('이모티콘\n','').replace('삭제된 메시지입니다','').replace('저두','').replace('저도','').replace('근데','').replace('나','').replace('아','')

wc = WordCloud(font_path='/System/Library/Fonts/AppleSDGothicNeo.ttc', background_color="white", width=600, height=400)
wc.generate(text)
wc.to_file("result4.png")
출력 결과
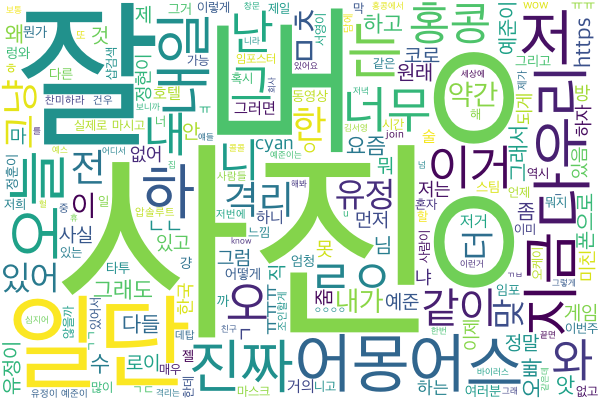
전보다는 훨씬 유의미한 내용들만 남은것을 볼 수 있다.
원하는 모양으로 워드클라우드
원하는 형태의 이미지를 import 해서 워드클라우드를 만들자
from wordcloud import WordCloud
from PIL import Image
import numpy as np

text = ''
with open("kakaotalk.txt", "r", encoding="utf-8") as f:
    lines = f.readlines()
    for line in lines[5:]:
        if '] [' in line:
        text += line.split('] ')[2].replace('ㅋ','').replace('ㅜ','').replace('이모티콘\n','').replace('삭제된 메시지입니','').replace('저두','').replace('저도','').replace('근데','').replace('나','').replace('아','')

mask = np.array(Image.open('cloud.png'))
wc = WordCloud(font_path='/System/Library/Fonts/AppleSDGothicNeo.ttc', background_color="white", mask=mask)
wc.generate(text)
wc.to_file("result_masked.png")
적용시킨 이미지 (cloud.png)

출력 결과

wordcloud 함수는 이미지상의 '검은색영역'에 워드클라우드를 만드는 것을 볼 수 있다.

다른 이미지 출처
위처럼 형태가 다른 이미지를 넣어서 적용할 경우

역시 검정 영역에 채워지는 결과를 볼 수 있다.
검정과 흰색의 대비가 애매한 이미지를 사용하면 위의 사각형과 동일한 결과를 낸다.

강의 회고록으로 이어집니다. 👇
(회고록 링크 추가예정)
스파르타 코딩클럽 5만 원 할인 쿠폰 링크 💵
아래 링크를 통해 가입하시면, 즉시 5만원 할인 쿠폰이 발급됩니다!
스파르타코딩클럽
왕초보 8주 완성! 웹/앱/게임 빠르게 배우고 내것을 만드세요!
spartacodingclub.kr